2017 Latest Design Timber shelving display shelving Supply to Japan

Short Description:
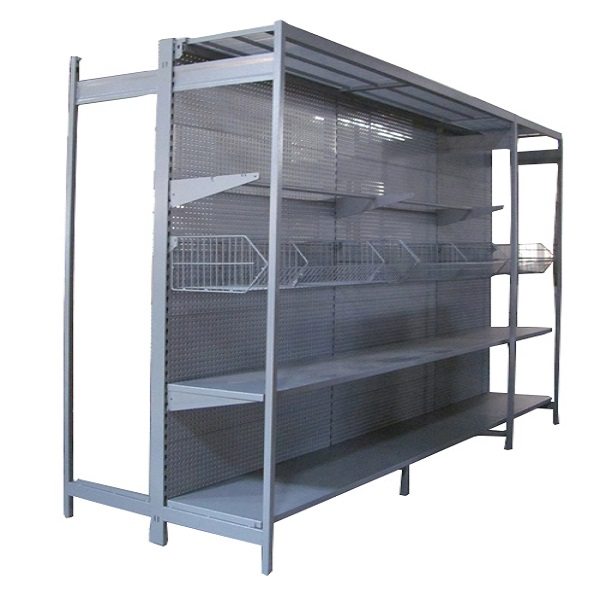
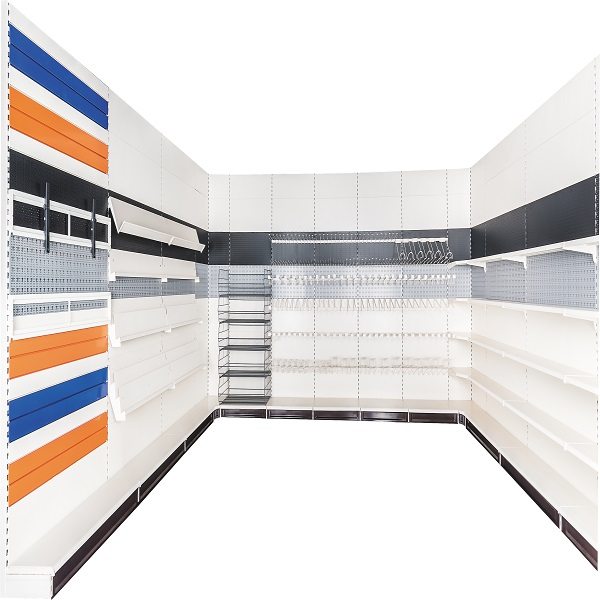
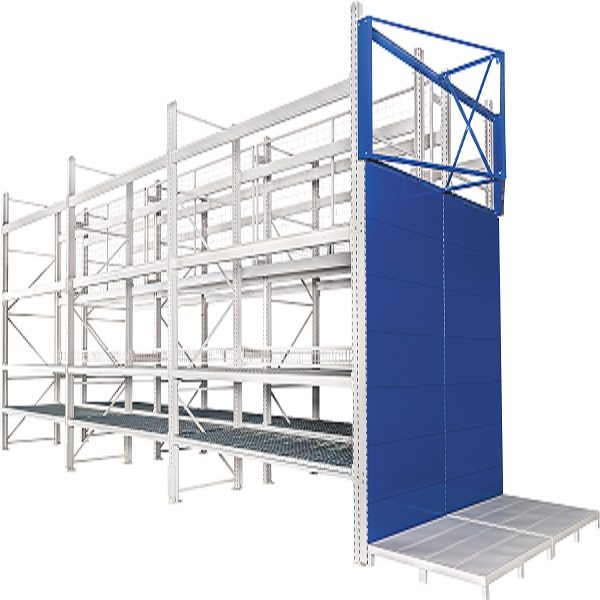
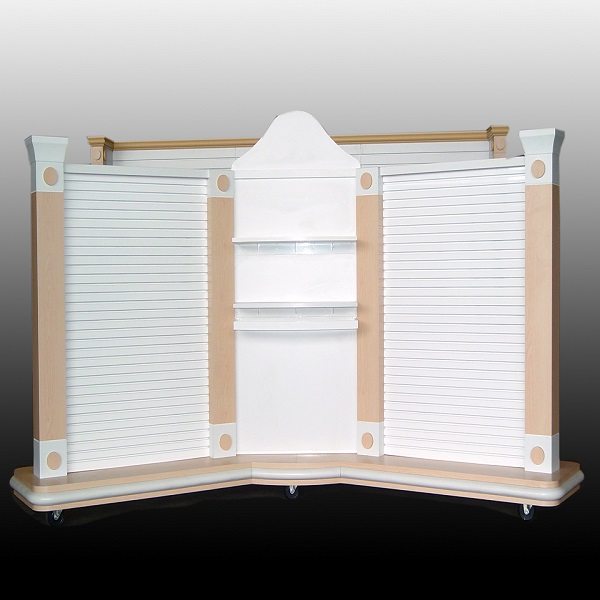
Suzhou Innovative Store Equipment Co., Ltd. – the supplier of Timber Gondola, Cubic tower, Display showcases & counters Treat your store to a clean contemporary look. The beautiful visual appeal of the natural maple wood grain laminate finish is truly unique. The versatile line of fixtures and showcases feature tempered glass, aluminum frames and matching interior brackets. Made from sturdy, slab end construction and durable low pressure laminate surfaces. Standard components Tempered gl...
2017 Latest Design Timber shelving display shelving Supply to Japan Detail:
Suzhou Innovative Store Equipment Co., Ltd. – the supplier of Timber Gondola, Cubic tower, Display showcases & counters
Treat your store to a clean contemporary look. The beautiful visual appeal of the natural maple wood grain laminate finish is truly unique. The versatile line of fixtures and showcases feature tempered glass, aluminum frames and matching interior brackets. Made from sturdy, slab end construction and durable low pressure laminate surfaces.
Standard components
- Tempered glass
- Sturdy 18mm slab end construction and durable vinyl laminate surface
- Satin finished clear anodized aluminum frame extensions
- Matching steel interior standards and bracket
Advantage
- Will accommodate most cash registers
- Allows for right angle counter layouts
- Great for 90 degree counters wrapping around corners, islands, etc…
What we can offer:
- Sit down Jewelry case
- Counter / Cashwrap combo
- Registers & Wrap counter
- Corner cases
- Display tables
Product detail pictures:
Related Product Guide:
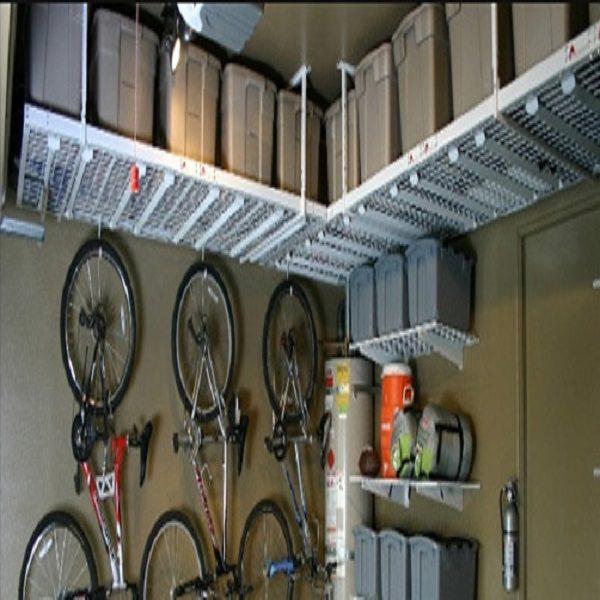
Wire Shelving: A Do It Yourself Space Saving Solution
Ideas for Recessed Room Shelves
2017 Latest Design Timber shelving display shelving Supply to Japan, The product will supply to all over the world, such as: , , ,
https://www.vinarack.vn Vinarack nơi tìm hiểu trao đổi các phương pháp lưu trữ hàng hóa,logistics hàng đầu trên thế giới và các giải pháp Giá kệ chứa hàng,giá kệ siêu thị, kệ lưu trữ hồ sơ, pallet sắt sơn tĩnh điện,kệ chứa pallet,kệ công nghiệp…
Vinarack – Giải pháp lưu trữ
Địa chỉ: Số 3, đường 40, Khu phố 8, Phường Hiệp Bình Chánh, Quận Thủ Đức, Tp.HCM , Việt Nam
Điện thoại /Fax ![]() 84-8)372 62 606 (7lines)
84-8)372 62 606 (7lines)
Hotline: 0909.787.797 — 0903.812.187 (24/7)
Web: https://www.vinarack.vn https://www.giake.vn https://giakechuahang.net https://giakekhohang.net https://giakenhakho.com https://giakesieuthi.net.vn
Forum: https://www.viban.vn/
Blog: https://www.viban.org/
Facebook: https://facebook.com/Vinarack.vn
Blog Yahoo: https://blog.yahoo.com/Vinarack
For More Sports News, Subscribe Now!▻▻https://bit.ly/1tJDGaW Serena Williams & Caroline Wozniacki’s Sexy Bikini Selfies▻▻https://bit.ly/1yeCq0z Alabama …