Cheapest Price Clip-on shelving to Rome Importers
Short Description:
Suzhou Innovative Store Equipment Co., Ltd. – the supplier of storage shelving systems of the highest standard. The storage shelving provide is with speed and ease of assembly. Whether for workshops, at home, in offices or garages, applications for the wall rails and shelves are almost unlimited. This means that almost all desired shelf arrangements can be achieved that are not only highly practical but also have a pleasing appearance. Standard components Clip-on boltless shelving is easy fo...
Cheapest Price Clip-on shelving to Rome Importers Detail:
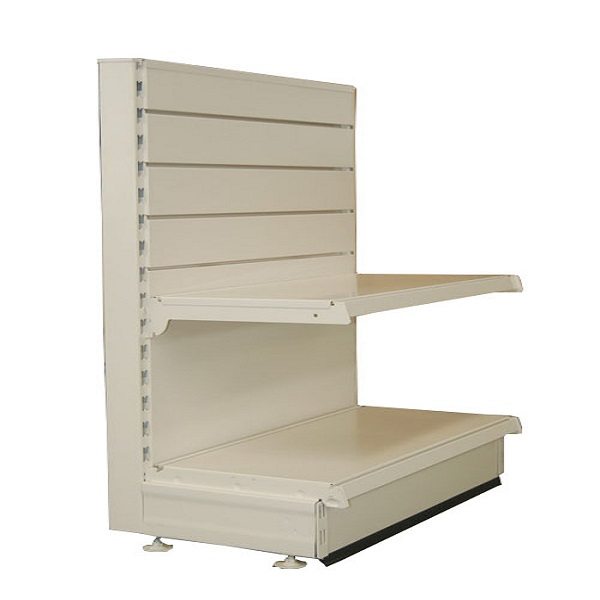
Suzhou Innovative Store Equipment Co., Ltd. – the supplier of storage shelving systems of the highest standard. The storage shelving provide is with speed and ease of assembly.
Whether for workshops, at home, in offices or garages, applications for the wall rails and shelves are almost unlimited. This means that almost all desired shelf arrangements can be achieved that are not only highly practical but also have a pleasing appearance.
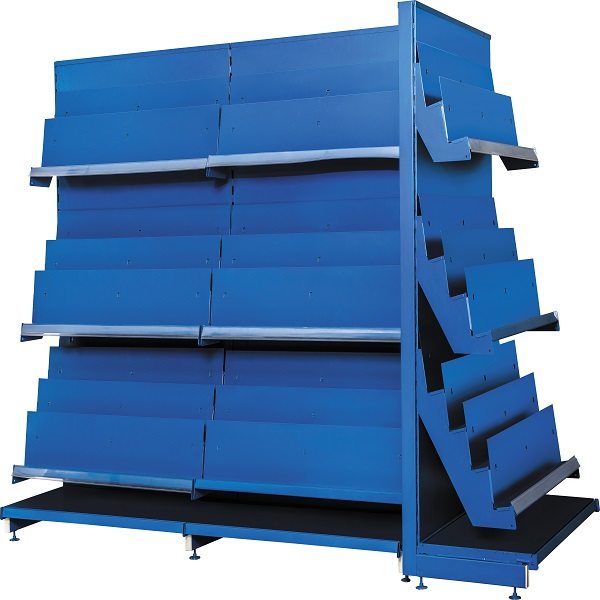
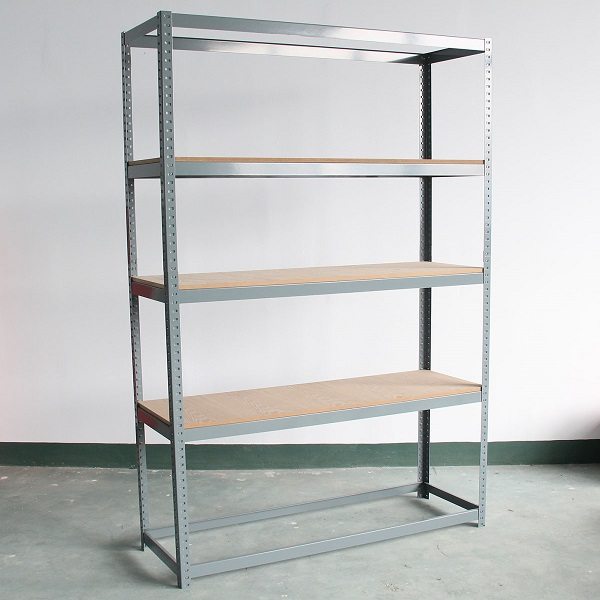
Standard components
- Clip-on boltless shelving is easy for assembly
- Heavy duty capacity to make environment safety
- Different types of beam and shelves are fit for different packaging
- Different types of shelves are fit for different commodities
| Upright frame | H 2’ – 13’ ( every 1’ difference ) |
| Upright section | 38*38*1.8mm48*48*1.8mm
38*48*1.8mm |
| Beam | 12” – 96” |
| Beam section | Double rivet beam | Single rivet beam | Z beam |
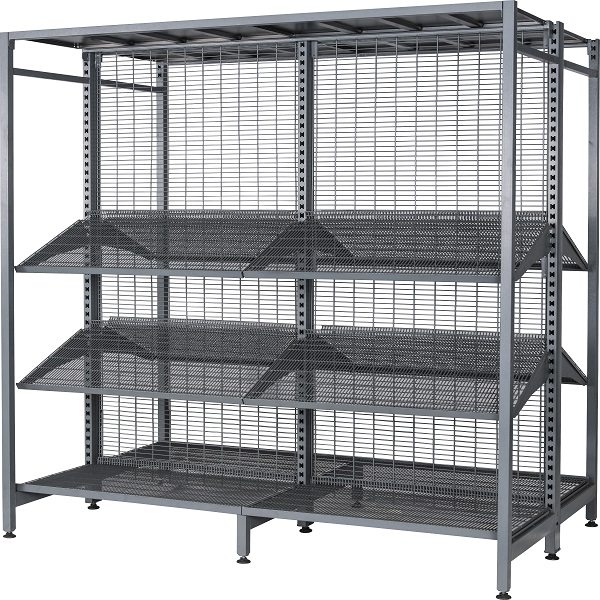
| Shelf type | Steel shelf | Wire grid shelf | MDF shelf | Support bar |
| Colors | White | Orange | Blue | Grey |
| Load Capa. (kgs) | Above 200kgs |
Advantage
- Designed to conserve warehouse and display space
- Industry’s most competitively priced units
- Designed to get attention and give maximum display space
More option
Use our optional parts and accessories to create a unique point-of-purchase units.
T post | Side panel | MDF hole back | Side wire mesh panel | Spreader bar | Front door
What we can offer:
- System solution for any kind of storage and warehouse
- High flexibility
- Simplicity and favourable price
- High quality
- Development and design according to requirements of clients
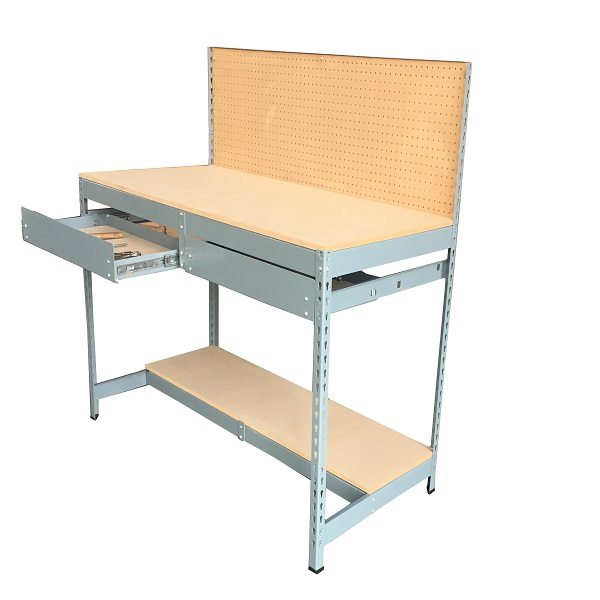
Product detail pictures:
Related Product Guide:
Ideas for Recessed Room Shelves
Why Choose Us for CU Racking
Cheapest Price Clip-on shelving to Rome Importers, The product will supply to all over the world, such as: , , ,
Film Date: 1900′s- Before First World War
Location: Russia
Description: 4 Faces Bayonet Drill performed at a military gymnastics display.
Four facing drills, consist of repeating a series of movements in four different directions, before returning to the point of origin. It was a popular solo training method used in 19th century through to the earlier part of the 20th century, both in the military and the gymnastic movement to teach martial movement and exercise.
4 faces Drills are equivalent to a Japanese martial Kata or a Chinese martial form.