New Delivery for Timber shelving display shelving Export to United States
Short Description:
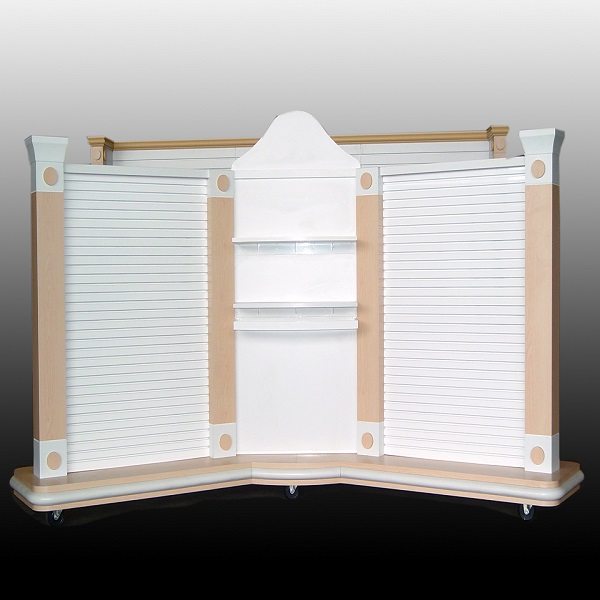
Suzhou Innovative Store Equipment Co., Ltd. – the supplier of Timber Gondola, Cubic tower, Display showcases & counters Our free standing slatwall units have a wide variety of applications and uses. Advantage Will accommodate most cash registers Allows for right angle counter layouts Great for 90 degree counters wrapping around corners, islands, etc… Each unit is designed with 3” (on center) T-groove slatwall panels which accept all slatwall shelves, baskets, brackets and accessories &n...
New Delivery for Timber shelving display shelving Export to United States Detail:
Suzhou Innovative Store Equipment Co., Ltd. – the supplier of Timber Gondola, Cubic tower, Display showcases & counters
Our free standing slatwall units have a wide variety of applications and uses.
Advantage
- Will accommodate most cash registers
- Allows for right angle counter layouts
- Great for 90 degree counters wrapping around corners, islands, etc…
- Each unit is designed with 3” (on center) T-groove slatwall panels which accept all slatwall shelves, baskets, brackets and accessories
What we can offer:
- Sit down Jewelry case
- Counter / Cashwrap combo
- Registers & Wrap counter
- Corner cases
- Display tables
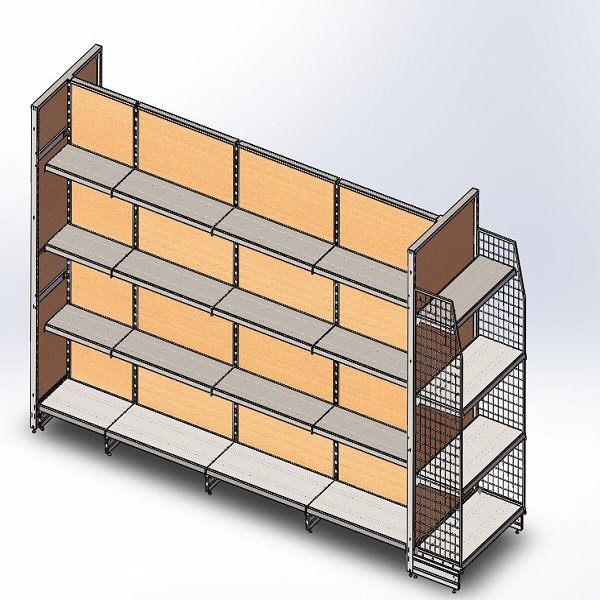
Product detail pictures:
Related Product Guide:
Flexible Financing With Mezzanine Debt
Why Choose Us for CU Racking
New Delivery for Timber shelving display shelving Export to United States, The product will supply to all over the world, such as: , , ,
This elf on the shelf is just evil. This is Magical Fred. We got him for Christmas last year but now for some crazy reason he came back for Halloween. This is a …