Factory supplied Grid back shelving Wholesale to Naples
Short Description:
Suzhou Innovative Store Equipment Co., Ltd – Manufacturing of shelf systems for shop fittings ( shop shelving, retail shelving, display shelving, storage shelving, warehouse shelving ) was started in the 1989’s. Because of improvement in products quality and achievement of compatibility with another used shelf systems, production strongly expanded both in total output and quantity of manufactured components parts. We are willing to offer you a solution for any problem in the area of shopfitti...
Factory supplied Grid back shelving Wholesale to Naples Detail:
Suzhou Innovative Store Equipment Co., Ltd – Manufacturing of shelf systems for shop fittings ( shop shelving, retail shelving, display shelving, storage shelving, warehouse shelving ) was started in the 1989’s. Because of improvement in products quality and achievement of compatibility with another used shelf systems, production strongly expanded both in total output and quantity of manufactured components parts.
We are willing to offer you a solution for any problem in the area of shopfitting. We can offer both our standard products and products meeting your specific requirements.
Everything will be delivered in perfect shape and high quality.
Standard components
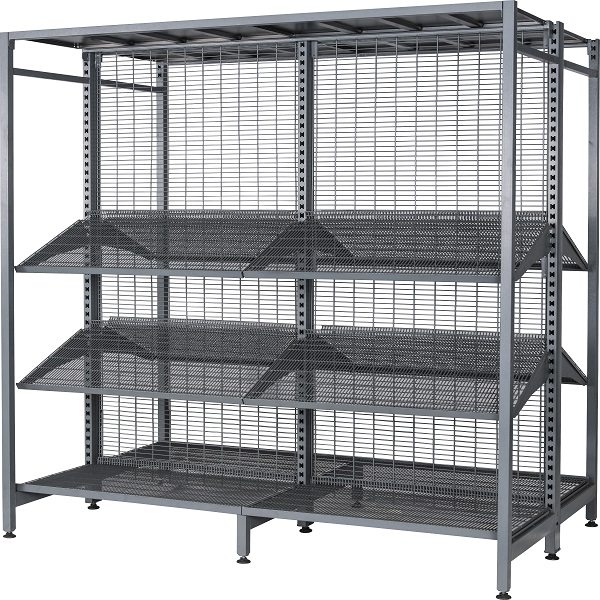
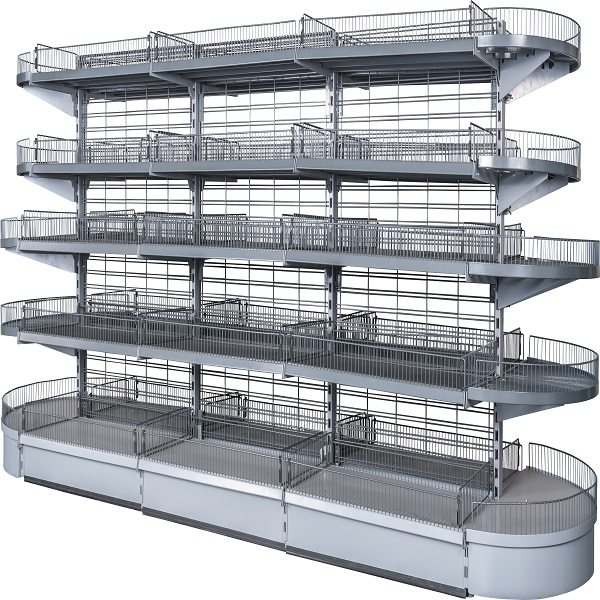
- The wire grid shelving has virtually endless possibilities, Use it as an promotion merchandiser shelving for special sale items
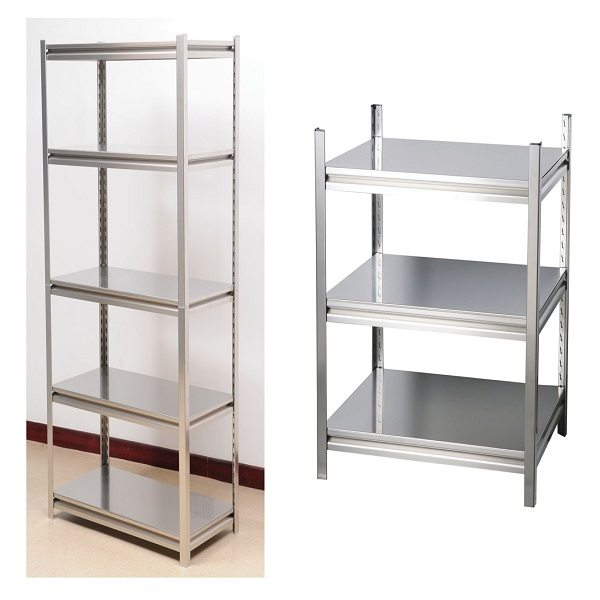
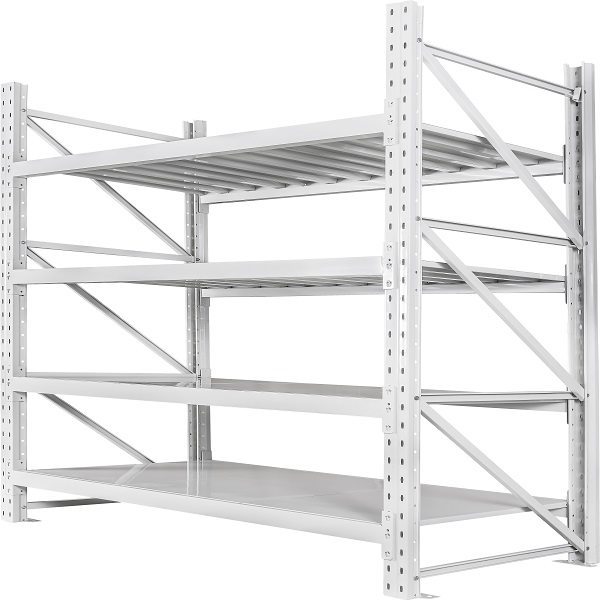
- Heavy duty slotted round uprights and base support made in rugged steel
- Base shelf made of rugged 0.8mm steel
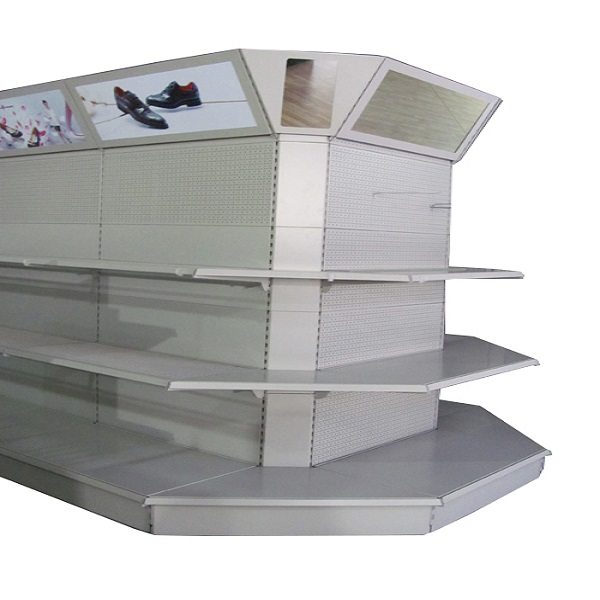
- Attractive powder coating finish
- Wire grid back panel made of steel wire with 25*50mm grid
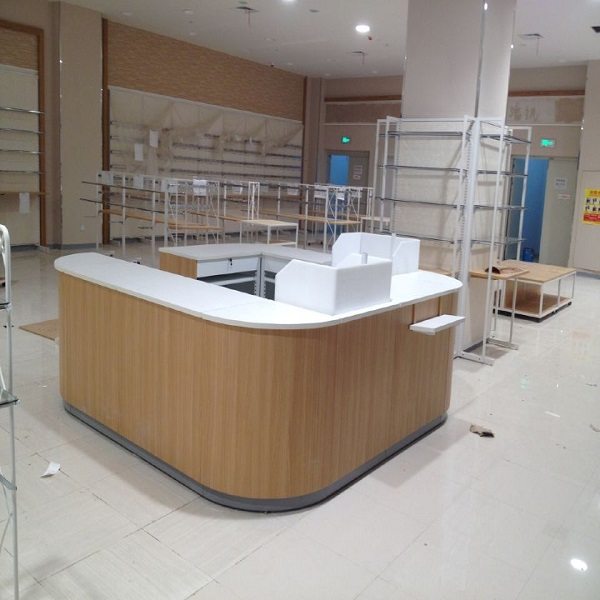
- End unit with round shelves to make the better viewpoint
| Upright | H 1210 – 3010mm |
| Base support | 470mm |
| Steel shelf | W 665mm | 800mm | 1000mm | 1250mm | 1330mmD 470mm |
| Back panel | W 665mm | W 800mm | 1000mm | 1250mm | 1330mmH 400mm |
| Colors | Ral 9001 | Ral 9010 | Ral 7035 | Ral 9006 |
| Load Capa. (kgs) | 100kgs – - - 150kgs |
Advantage
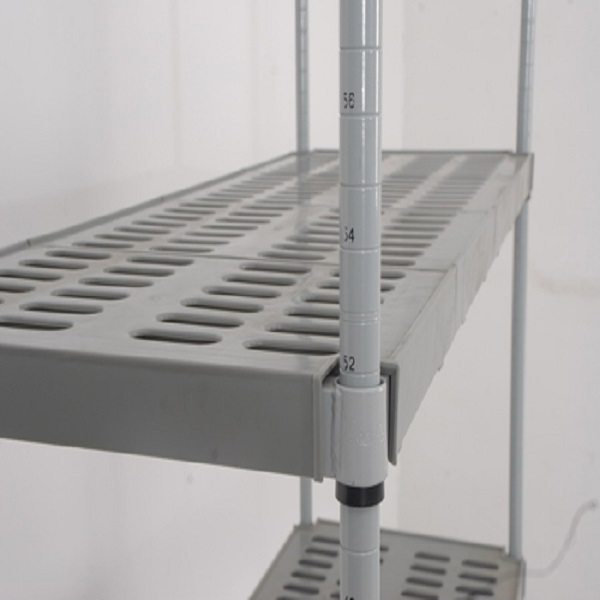
- Easy set up with no tools required
- Designed to conserve warehouse space
- Industry’s most competitively priced units
- Designed to get attention and give maximum display space
More option
Use our optional parts and accessories to create a unique point-of-purchase units.
Peg hooks | Wire slatwall shelves | Light box | Timber shelves | Side frame | Side mirror panel | Wire cage | Spreader bar
What we can offer:
- System solution for any kind of shop centers
- High flexibility
- Simplicity and favourable price
- High quality
- Development and design according to requirements of clients
Product detail pictures:
Related Product Guide:
Wooden Kitchen Shelves Offer Beauty and Versatility
Bibliophile Guide to Procure Perfect Bookshelves
Factory supplied Grid back shelving Wholesale to Naples, The product will supply to all over the world, such as: , , ,
https://www.vinarack.vn Vinarack sản xuất,lắp đặt giá kệ nhà kho,kệ lưu trữ hồ sơ văn phòng,kệ lưu trữ hàng hóa,kệ trưng bày sản phẩm,kệ siêu thị,pallet sắt mạ kẽm,sơn tĩnh điện,kệ công nghiệp…
Vinarack – Giải pháp lưu trữ
Địa chỉ: Số 3, đường 40, Khu phố 8, Phường Hiệp Bình Chánh, Quận Thủ Đức, Tp.HCM , Việt Nam
Điện thoại /Fax ![]() 84-8)372 62 606 (7lines)
84-8)372 62 606 (7lines)
Hotline: 0909.787.797 — 0903.812.187 (24/7)
Web: https://www.vinarack.vn https://www.giake.vn https://giakechuahang.net https://giakekhohang.net https://giakenhakho.com https://giakesieuthi.net.vn
Forum: https://www.viban.vn/
Blog: https://www.viban.org/
Facebook: https://facebook.com/Vinarack.vn
Blog Yahoo: https://blog.yahoo.com/Vinarack