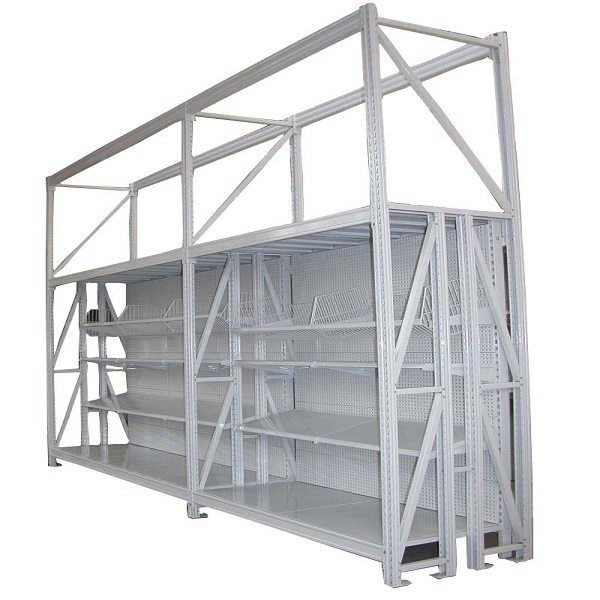
High Performance Timber shelves Supply to Montpellier
Short Description:
Suzhou Innovative Store Equipment Co., Ltd – Manufacturing of shelf systems for shop fittings ( shop shelving, retail shelving, display shelving, storage shelving, warehouse shelving ) was started in the 1989’s. Because of improvement in products quality and achievement of compatibility with another used shelf systems, production strongly expanded both in total output and quantity of manufactured components parts. We are willing to offer you a solution for any problem in the area of shopfitti...
High Performance Timber shelves Supply to Montpellier Detail:
Suzhou Innovative Store Equipment Co., Ltd – Manufacturing of shelf systems for shop fittings ( shop shelving, retail shelving, display shelving, storage shelving, warehouse shelving ) was started in the 1989’s. Because of improvement in products quality and achievement of compatibility with another used shelf systems, production strongly expanded both in total output and quantity of manufactured components parts.
We are willing to offer you a solution for any problem in the area of shopfitting. We can offer both our standard products and products meeting your specific requirements.
Everything will be delivered in perfect shape and high quality.
Standard components
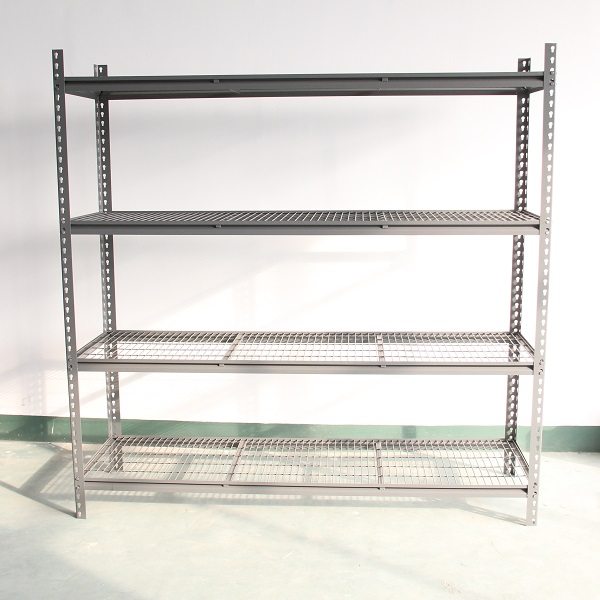
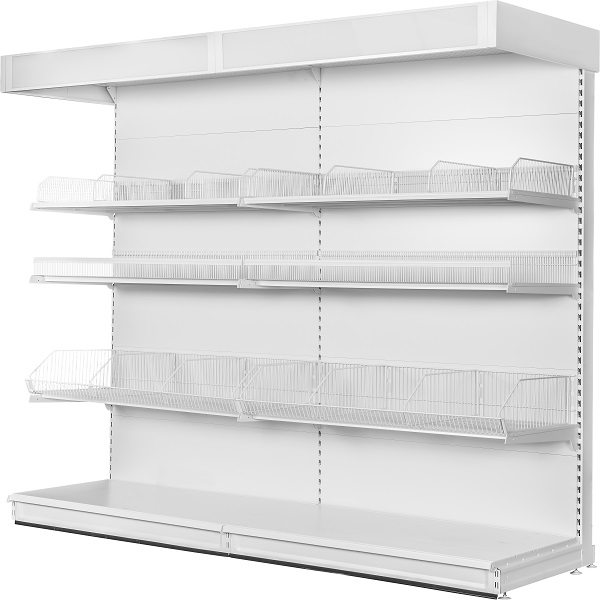
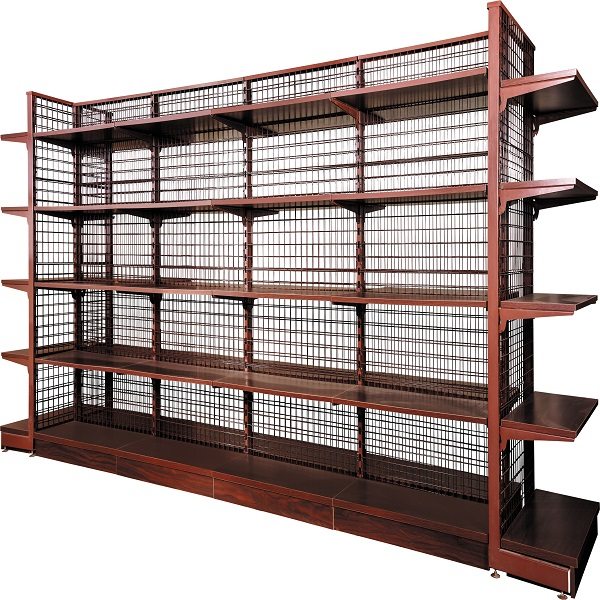
- The shelving with timber shelves to highlight the merchandise
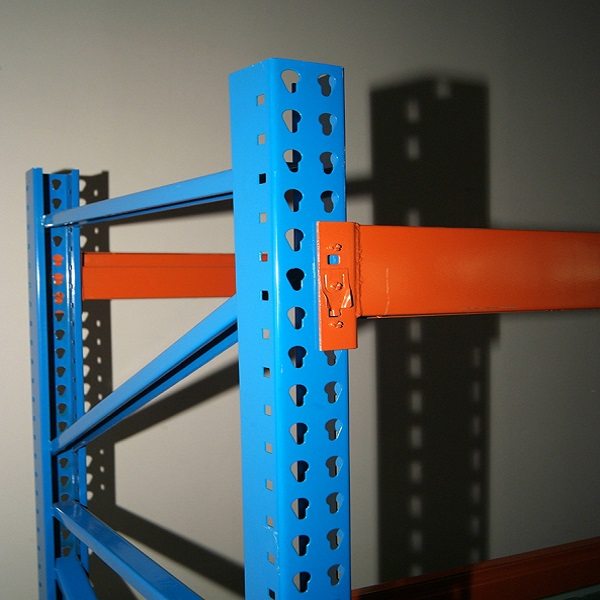
- Heavy duty slotted round uprights and base support made in rugged steel
- Base shelf made of 18mm MDF
- Attractive melamine finish
- Wire grid back panel made of steel wire with 25*50mm grid
Upright | H 1210 – 3010mm |
Base support | 200mm | 270mm | 300mm | 370mm | 470mm | 570mm | 670mm | 770mm |
Steel shelf | W 665mm | 800mm | 1000mm | 1200mm | 1220mm | 1250mm | 1330mmD 200mm | 270mm | 300mm | 370mm | 470mm | 570mm | 670mm | 770mm |
Back panel | W 665mm | 1000mm | 1250mm | 1330mmH 400mm |
Colors | Ral 9001 | Ral 9010 | Ral 7035 | Ral 9006 |
Load Capa. (kgs) | 100kgs – - - 150kgs |
Advantage
- Easy set up with no tools required
- Designed to conserve warehouse space
- Industry’s most competitively priced units
- Designed to get attention and give maximum display space
More option
Use our optional parts and accessories to create a unique point-of-purchase units.
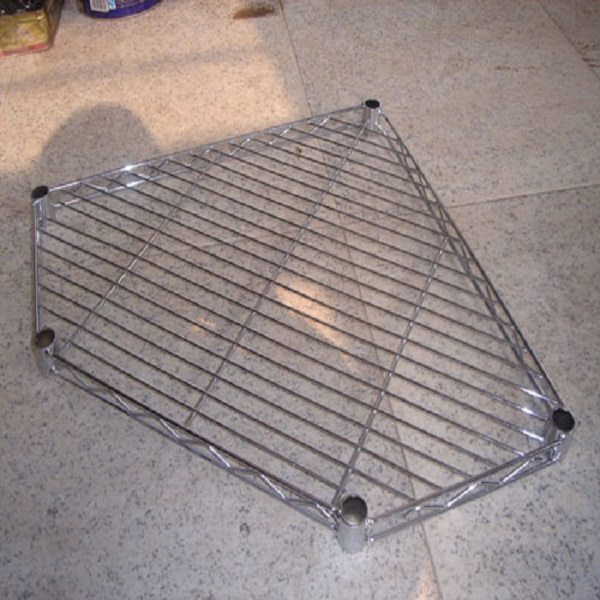
Peg hooks | Wire slatwall shelves | Light box | Timber shelves | Side frame | Side mirror panel | Wire cage | Spreader bar
What we can offer:
- System solution for any kind of shop centers
- High flexibility
- Simplicity and favourable price
- High quality
- Development and design according to requirements of clients
Product detail pictures:
Related Product Guide:
Ideas for Recessed Room Shelves
Why Choose Us for CU Racking
High Performance Timber shelves Supply to Montpellier, The product will supply to all over the world, such as: , , ,
Learn how to make a frame for your canvas! Build your own picture frame to save a ton of money.
The photo for the canvas was taken by Brandon Ostermiller of Bozeman, Montana. Email him for inquires at bostermiller74@gmail.com Canvas printed by Pictorem. Check them out here: https://www.diypete.com/pictorem
For more info, project photos, and downloadable plans check out:
https://www.diypete.com/CanvasFrames
Download Plans: https://gumroad.com/l/canvasframes
Clean the Barnwood and Cut to Size
We’ll start this project by making sure the barnwood is completely free of any nails, screws, dirt, and debris. You can either use some sandpaper to clean it off, a hand-held brush, or scraper. Be sure not to sand too much (just get any surface dirt, etc off). We want to leave the wood distressed and aged, it adds to the look. Then with your table saw or circular saw, measure and mark out your cuts. Refer to the downloadable plans for a complete cut list.
Cut the Lengths and Angles on the Miter Saw
Once we have all of the boards ripped down to the right thickness and width, we’ll head over to the miter saw to make the length and angle cuts. You may want to make the cuts generous (not exact dimensions at first) to ensure you’ve left enough for the 45 degree mitered corners. Measure twice and cut once! All of the corners are mitered together, so cut them all to 45 degree angles that will come together to form 90 degree corners. For the lengths, refer to the downloadable plans here or measure your custom canvas print’s length.
Assemble the Main Frame
Start with one corner, true it up, glue it up, and screw it together. You want to make sure to add wood glue to these miter joints, pre drill any spots where screws are going to go, and use clamps if need be. After you’ve built one miter corner, bring it to the canvas frame and attach it using screws (pre-drill these holes too). Directly drill from the canvas interior frame into your barnwood frame. Repeat these steps for each of the four mitered corners.
Attach the Outer Frame
Now we add the outer section of the frame that adds depth and dimension to the overall look. If, when ripping your barnwood boards, you exposed sections of wood that don’t match the barnwood look, then either wood burn them, use a steel wool and vinegar solution, or other aging method now. Apply wood glue to the lengths of every section that will be taking these outer frame pieces. Align it all and use your nailgun or hammer and nails to attach to the main frame.
Install and Enjoy
Almost done, we just need to install it! You’ll want to screw this canvas photo with barnwood frame directly into studs (the size and weight of ours needed direct stud install). Screw it into place and step back and admire! This is a great project that doesn’t take long and is fun to collaborate on. Post your barnwood frame pieces below!
—-
Looking for more DIY videos? Be sure to check out our channel and subscribe for updates! We post a weekly tutorial every Thursday.
Looking for woodworking, concrete working, and other DIY projects plans to follow? You can download plans for free at https://gumroad.com/DIYPETE
Facebook: https://facebook.com/DiyProjectsWithPete
Instagram: https://instagram.com/diypete
Pete Sveen
1627 W Main Street Suite 182
Bozeman, Montana 59715