Hot-selling attractive price Round promotion display shelving for Uganda Manufacturers
Short Description:
Suzhou Innovative Store Equipment Co., Ltd. – the supplier of Timber Gondola, Cubic tower, Display showcases & counters Providing innovative and economical fixture solutions is our goal. It’s each to configure any high impact display area with the modular design of Store Equipment’s Value Line showcases, counter wraps and registers. With even more woodgrain finishes available – you’re sure to find the perfect fit for your store’s layout. Advantage Will accommodate most cash regist...
Hot-selling attractive price Round promotion display shelving for Uganda Manufacturers Detail:
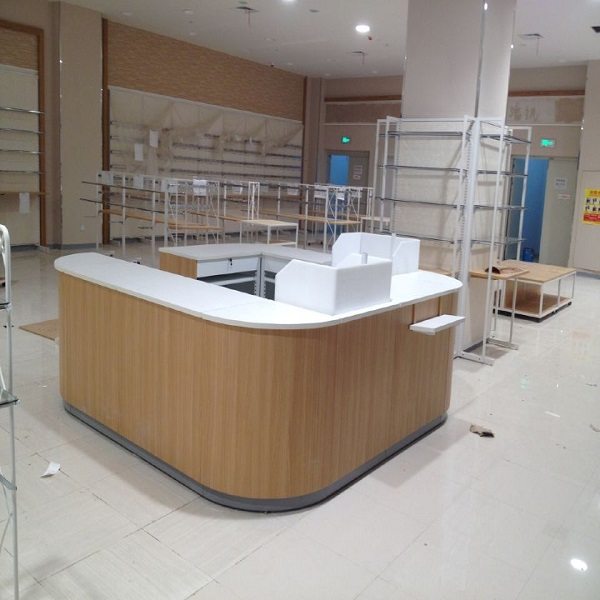
Suzhou Innovative Store Equipment Co., Ltd. – the supplier of Timber Gondola, Cubic tower, Display showcases & counters
Providing innovative and economical fixture solutions is our goal. It’s each to configure any high impact display area with the modular design of Store Equipment’s Value Line showcases, counter wraps and registers. With even more woodgrain finishes available – you’re sure to find the perfect fit for your store’s layout.
Advantage
- Will accommodate most cash registers
- Allows for right angle counter layouts
- Great for 90 degree counters wrapping around corners, islands, etc…
What we can offer:
- Sit down Jewelry case
- Counter / Cashwrap combo
- Registers & Wrap counter
- Corner cases
- Display tables
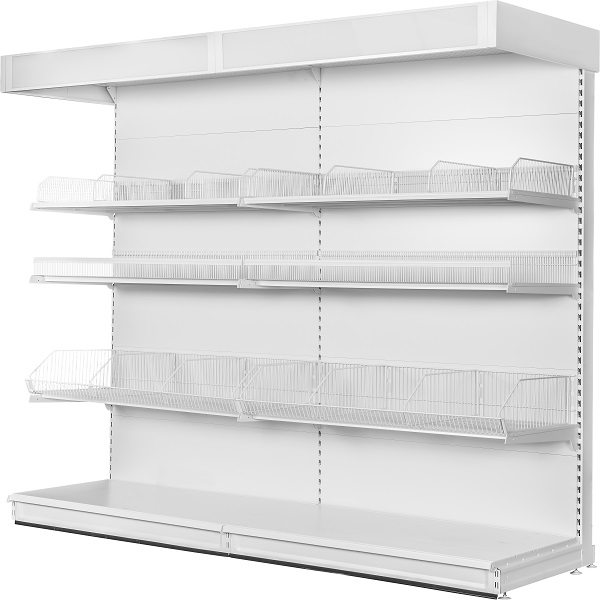
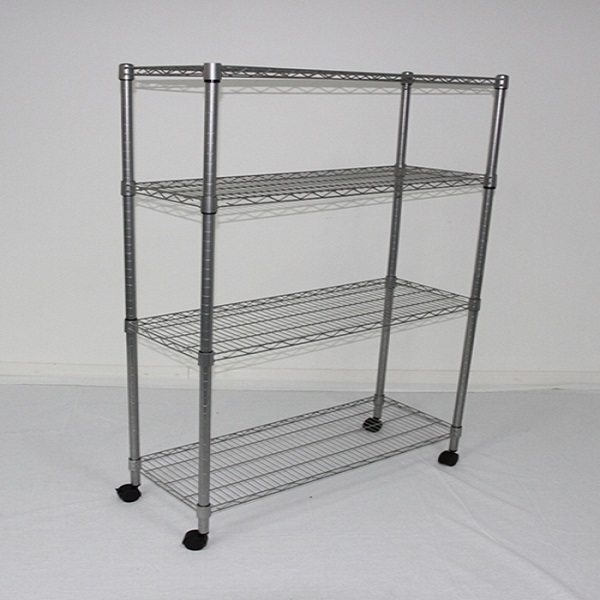
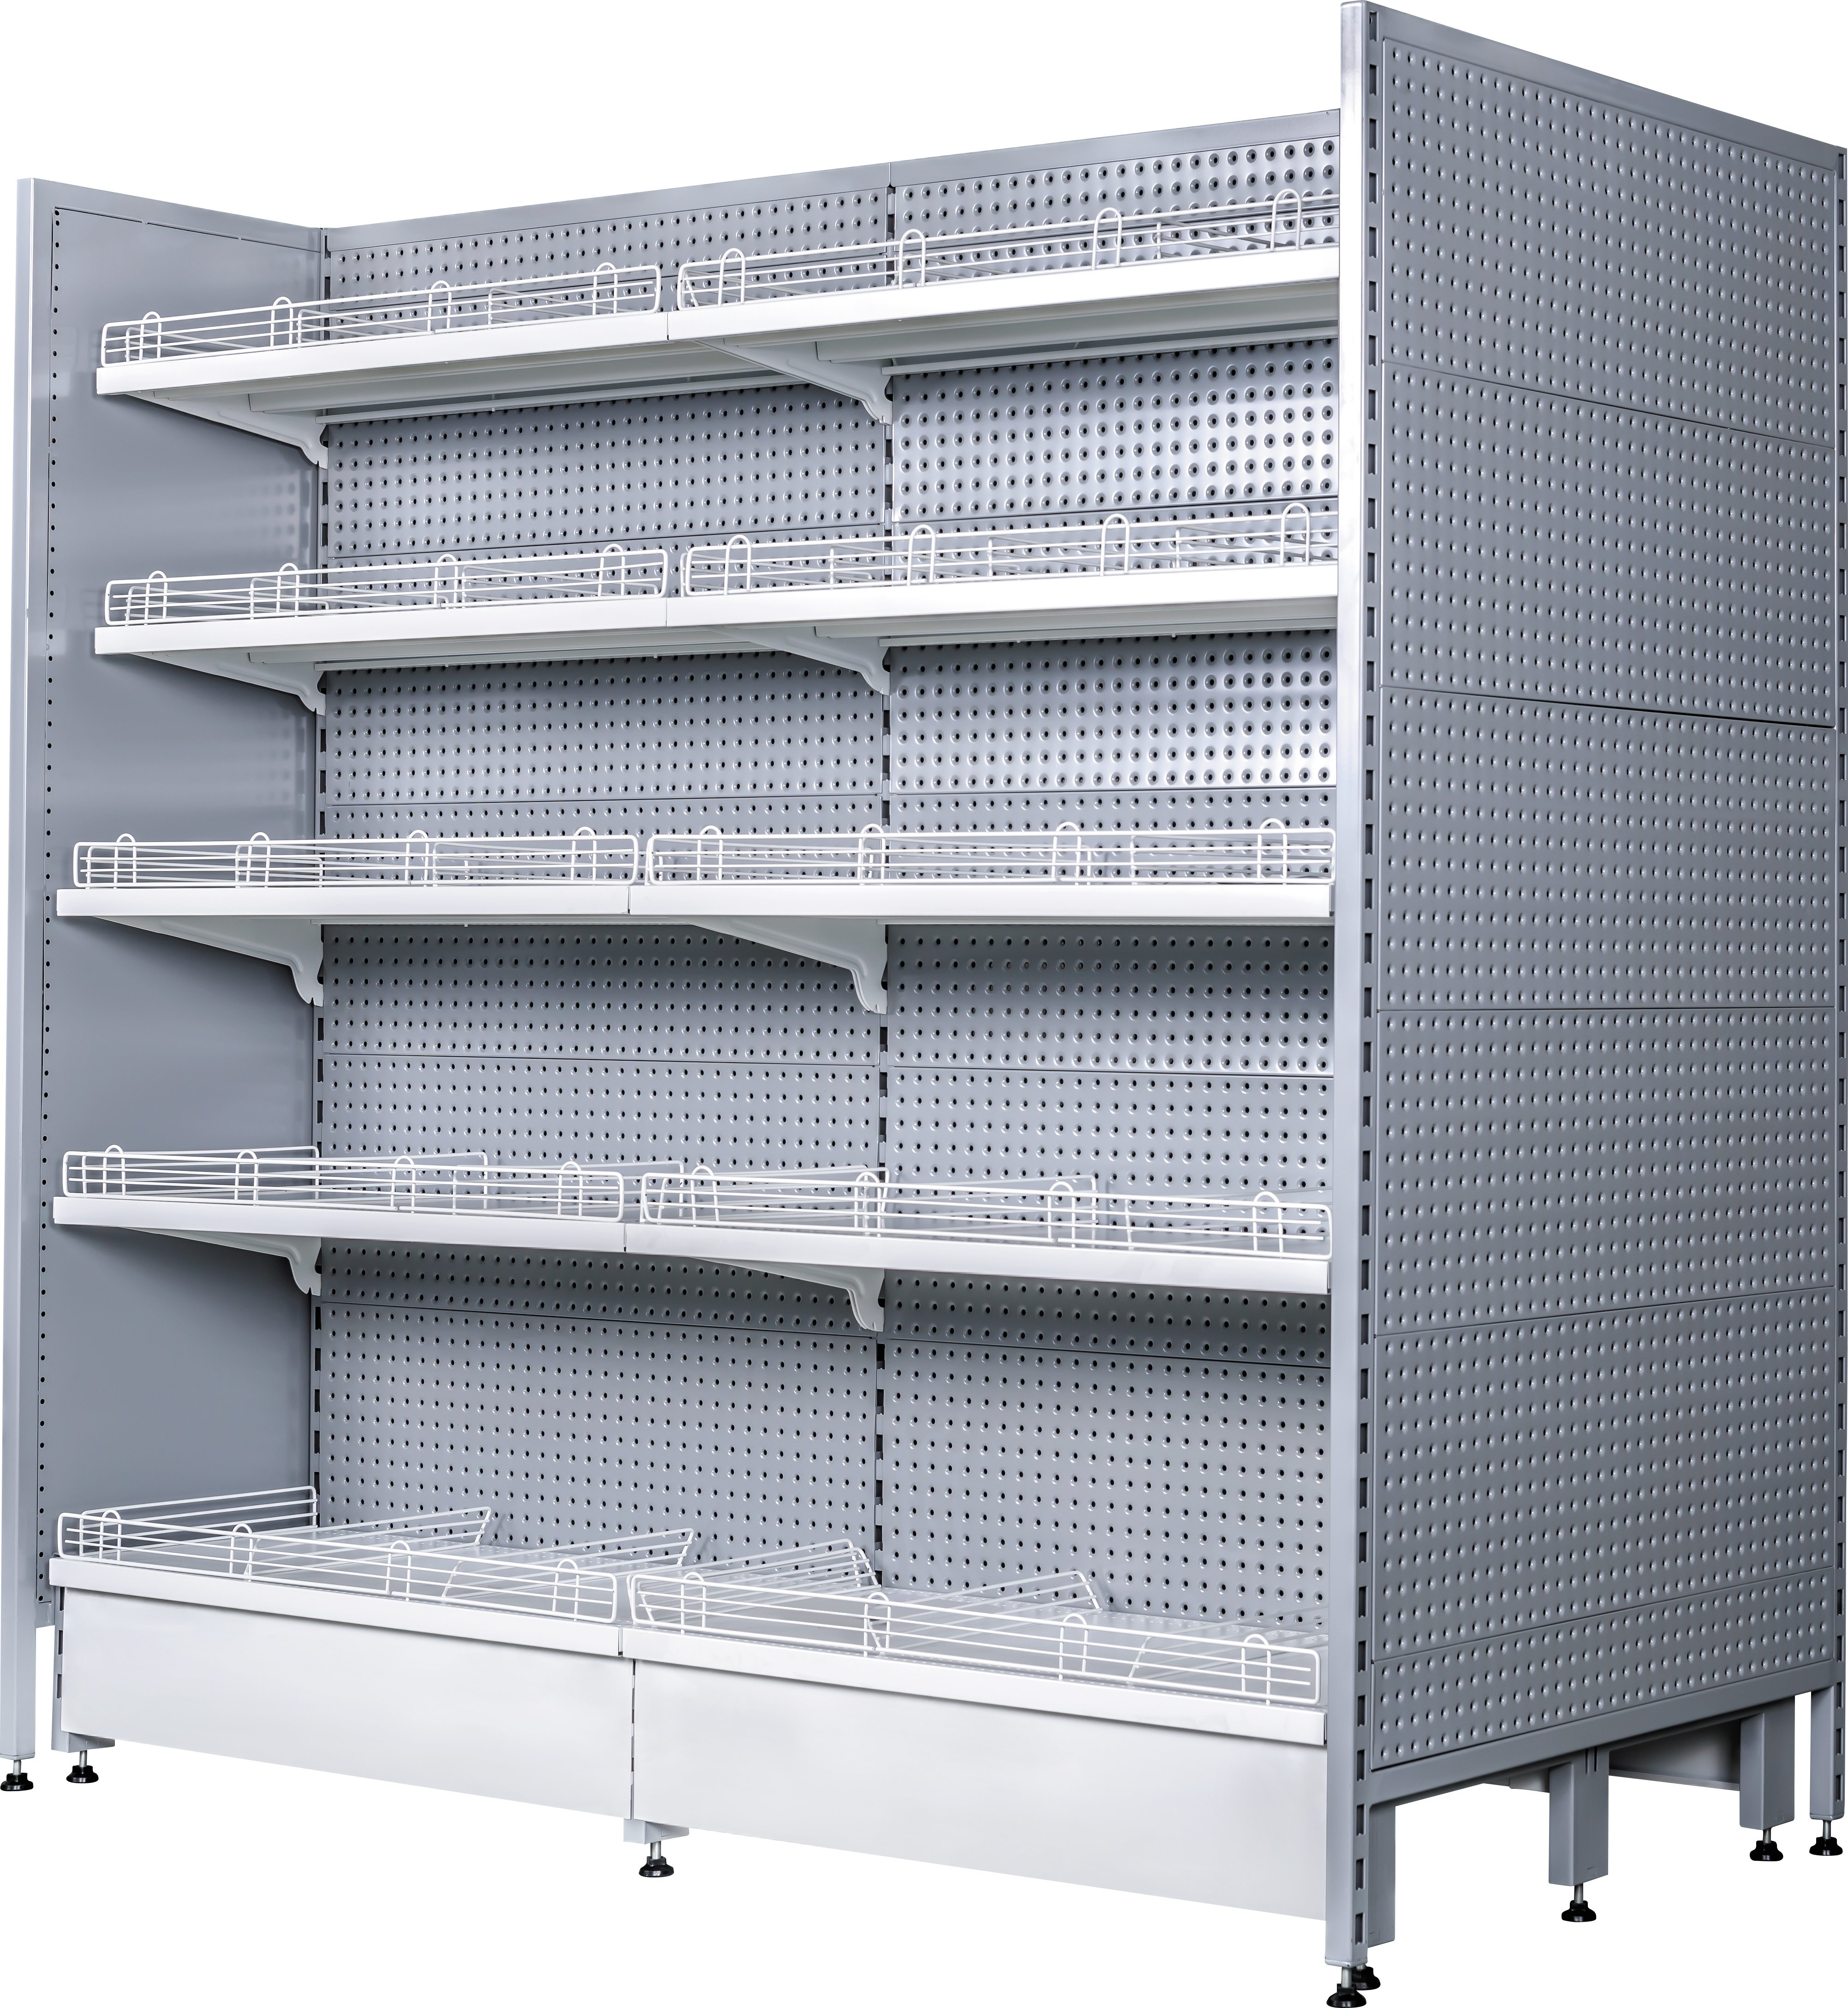
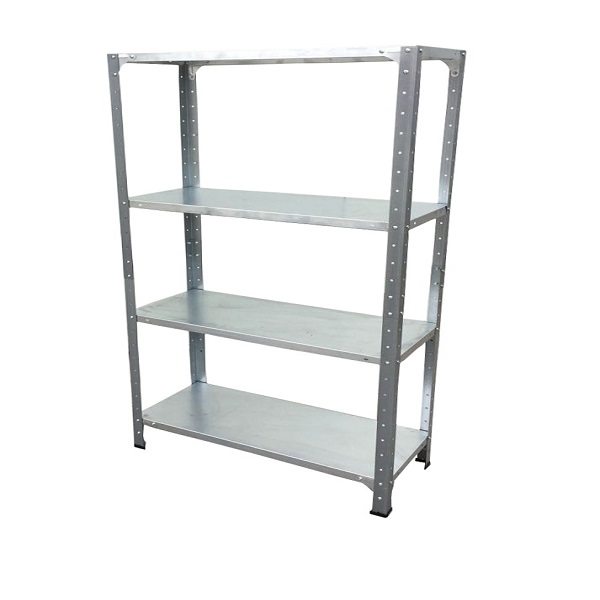
Product detail pictures:
Related Product Guide:
Bibliophile Guide to Procure Perfect Bookshelves
Wooden Kitchen Shelves Offer Beauty and Versatility
Hot-selling attractive price Round promotion display shelving for Uganda Manufacturers, The product will supply to all over the world, such as: , , ,